

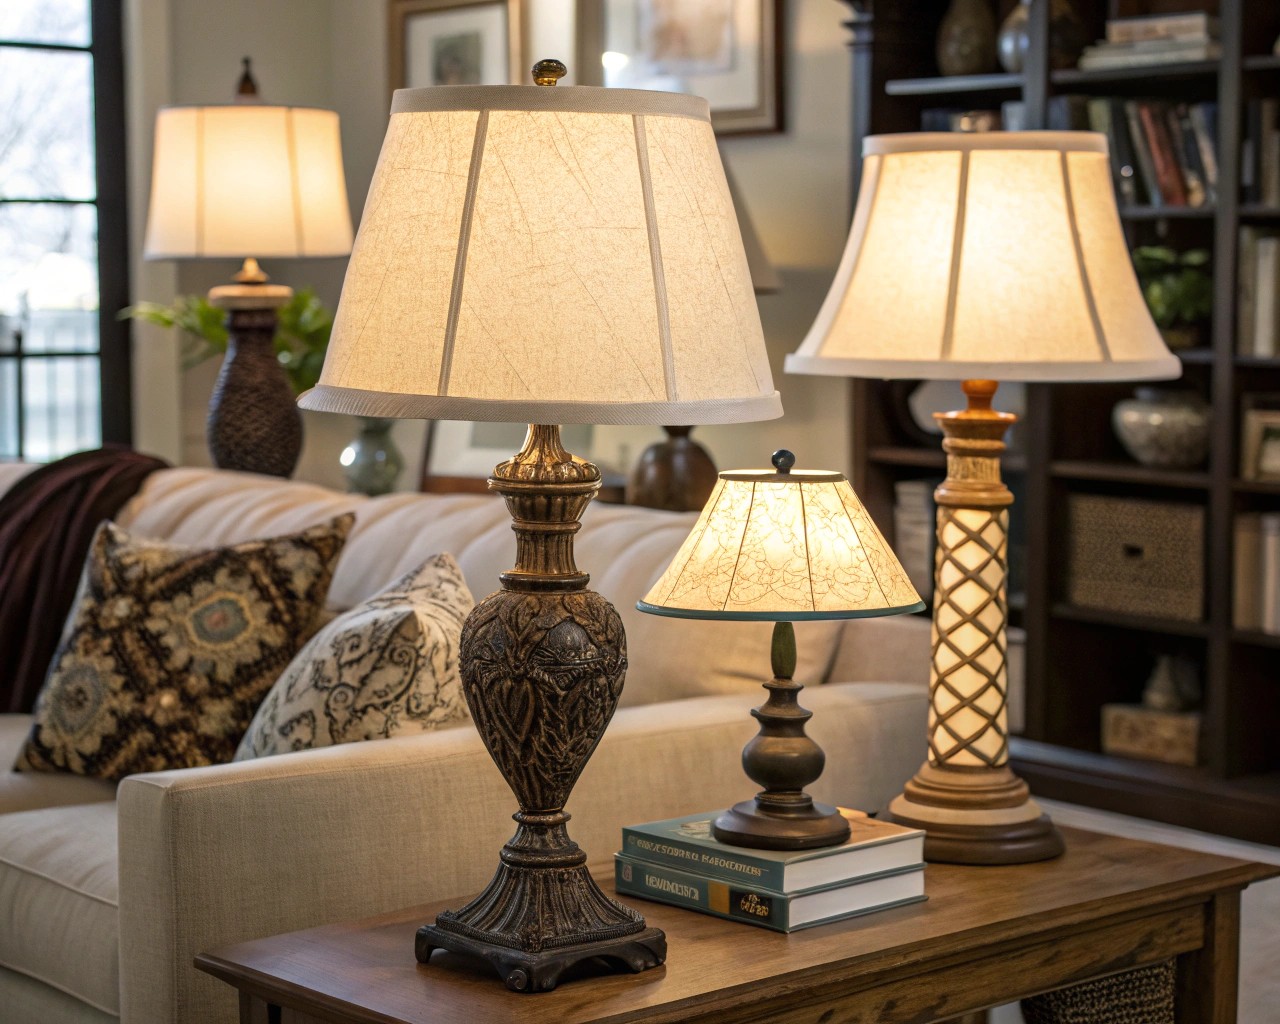
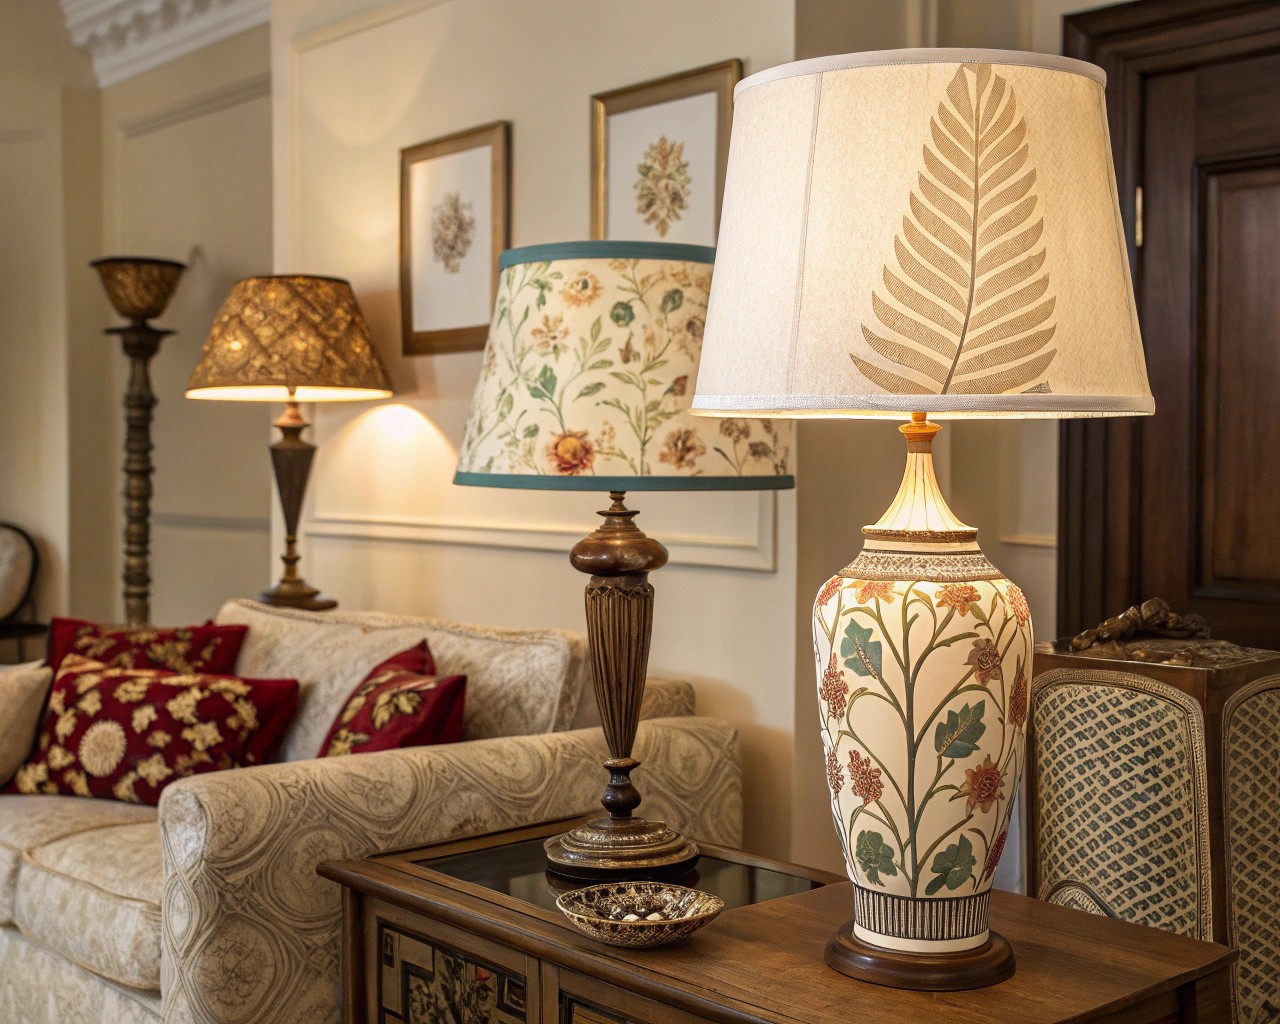
Custom lampshades have the remarkable ability to transform ordinary lamps into extraordinary focal points. Throughout my years designing spaces for clients, I’ve found few elements can change a room’s atmosphere as dramatically as a well-crafted, personalized lampshade. Whether you’re looking to refresh dated fixtures or create something entirely unique, this guide will walk you through the process of designing and creating custom lampshades that reflect your personal style while elevating your home’s lighting design.
Why Custom Lampshades Make a Difference
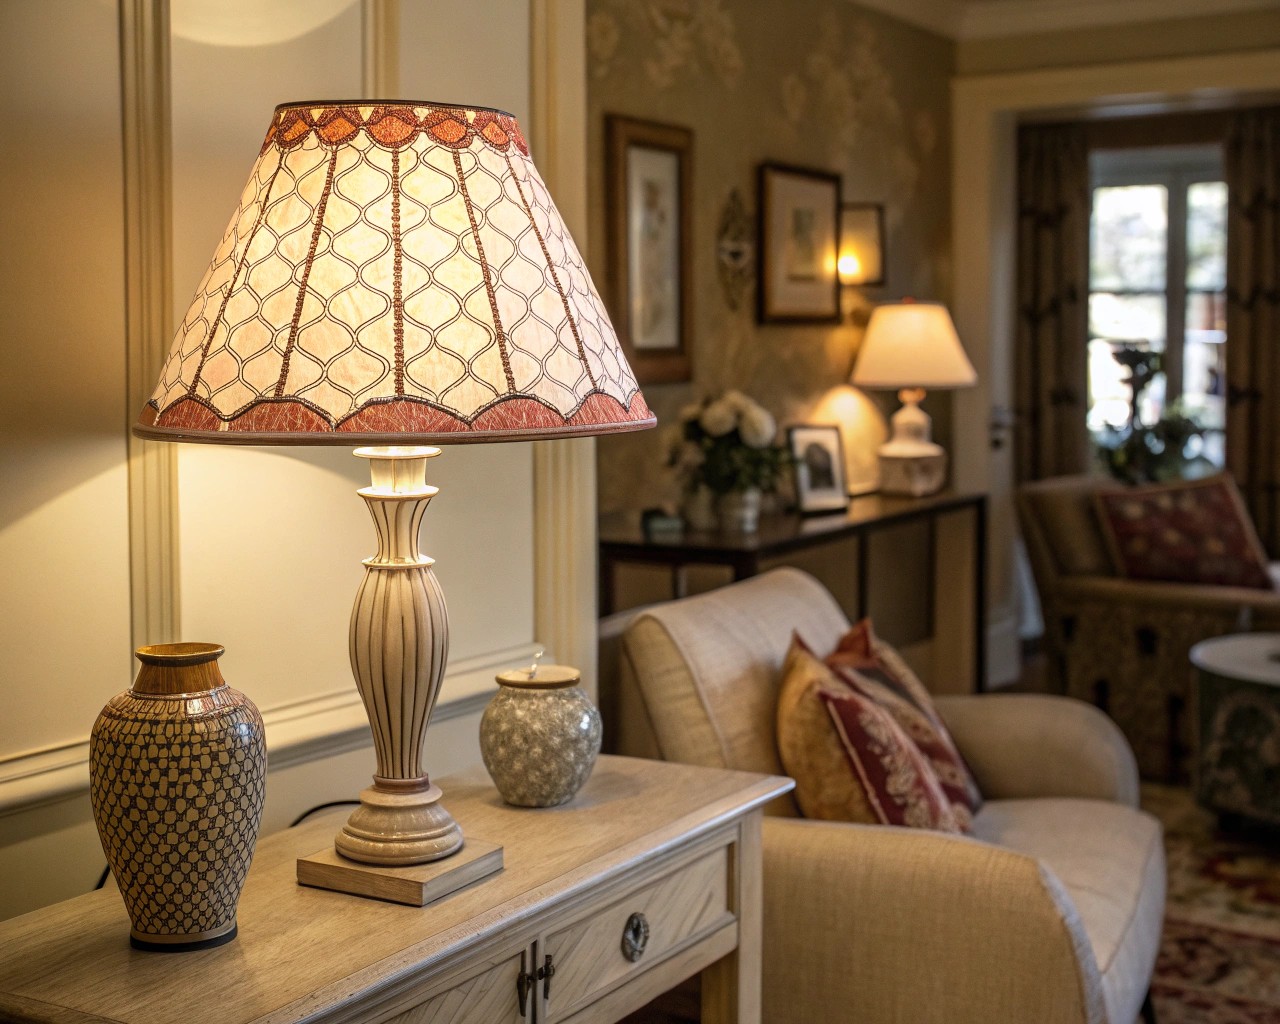
My own experience confirms this: after replacing the shade on a basic floor lamp with a hand-crafted version, friends were surprised, often mistaking it for an entirely new fixture. This simple change had completely reinvented both the lamp and the corner of the room it inhabited.
Custom lampshades offer multiple benefits:
- Expression of personal style through patterns, colors, and materials
- Perfect scale and proportion for your specific space
- Complementary elements that enhance existing décor
- Controlled light diffusion to create desired ambiance
- Opportunity to repurpose vintage or sentimental materials
- Creation of one-of-a-kind statement pieces
One of my clients approached me with a family heirloom lamp base that had beautiful craftsmanship but came paired with a dated, yellowing shade. Rather than relegating this treasure to the attic, we created a custom shade using fabric that complemented their current décor. The transformed lamp now sits proudly in their entryway, honoring family history while harmonizing with their contemporary aesthetic.

Design Considerations: Choosing the Right Shape and Size
Before diving into creation, several key considerations will guide your lampshade design:
Lampshade Shapes and Their Best Uses
Different shapes serve different purposes and complement various lamp bases:
| Shape | Characteristics | Best Used With | Ideal Room Placement |
|---|---|---|---|
| Drum | Cylindrical with straight sides | Modern, substantial bases | Living rooms, bedside tables |
| Empire | Tapered with wider bottom | Traditional bases, classical designs | Formal settings, dining rooms |
| Bell | Curved, flaring outward at bottom | Curved or ornate bases | Bedrooms, living rooms |
| Coolie | Wide, sharply angled cone | Tall, slender bases | Reading corners, side tables |
| Square/Rectangle | Angular, contemporary look | Geometric or modern bases | Contemporary spaces, offices |
| Oval | Elongated cylindrical shape | Oval or rectangular bases | Console tables, narrow spaces |
The right proportions make all the difference in a custom lampshade. We’ve seen beautiful custom shades fail simply because the proportions were off. Follow these guidelines:
- Height of shade should be approximately 3/4 the height of the lamp base
- Bottom diameter of the shade should be roughly equal to the height of the base
- Shade should cover the lamp hardware (socket, switch) but not the decorative parts of the base
- For table lamps, the bottom of the shade should sit slightly above the widest part of the base
Materials and Their Light Effects
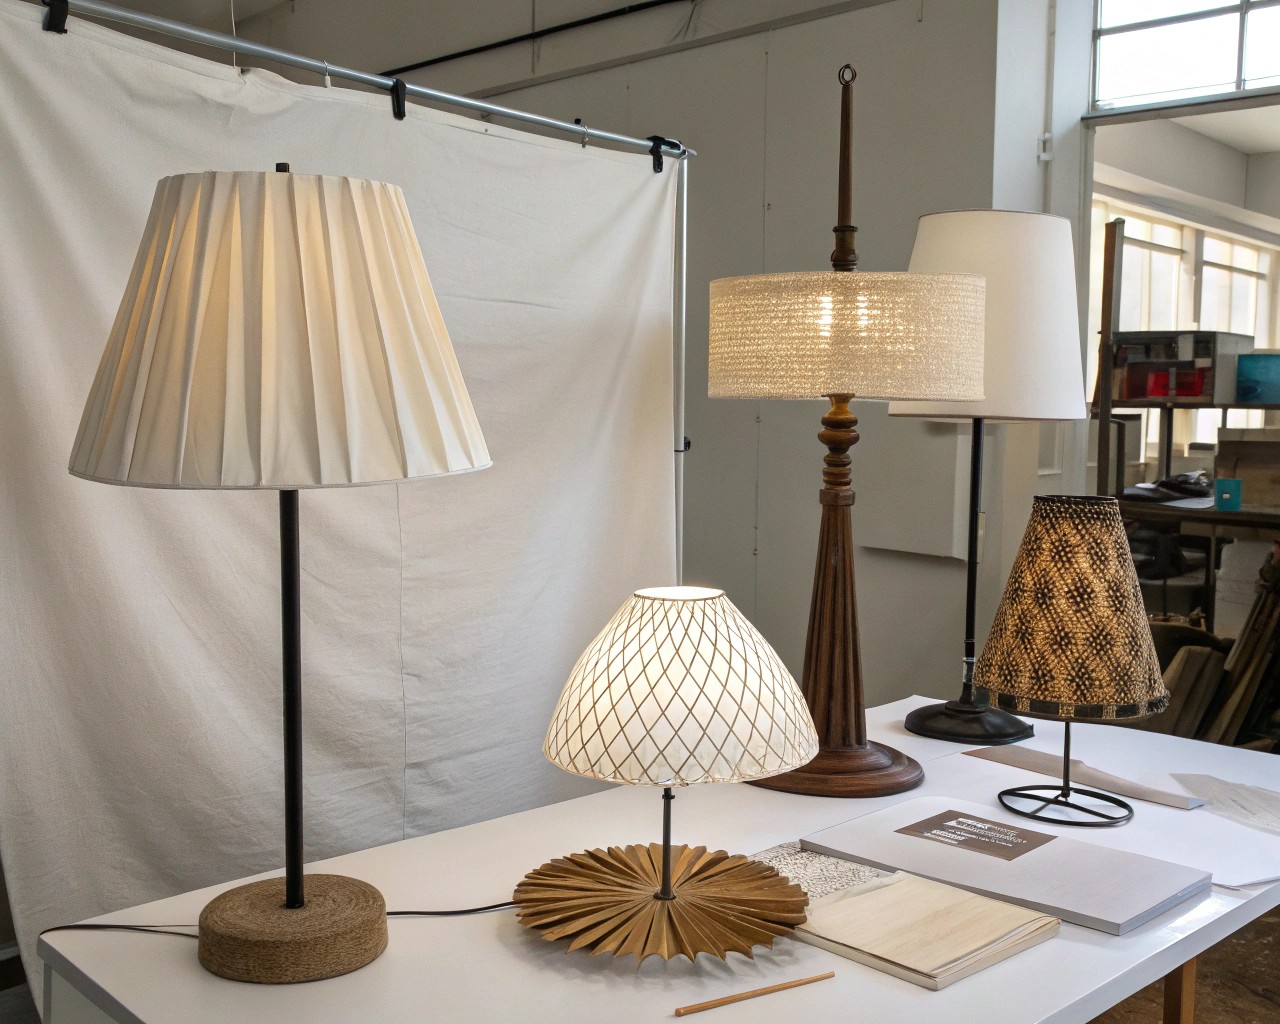
Different materials create different lighting effects. Consider how your lampshade material affects the quality of light:
| Material | Light Diffusion | Durability | Best For | Care Considerations |
|---|---|---|---|---|
| Silk | Warm, soft glow | Moderate | Formal spaces, bedrooms | Avoid direct sunlight, dust carefully |
| Linen | Natural, textured light | High | Casual, rustic settings | Spot clean only |
| Cotton | Even, moderate diffusion | High | Versatile, everyday use | Some can be machine washed |
| Paper | Crisp, artistic light | Low | Contemporary, artistic spaces | Keep away from moisture |
| Parchment | Warm, vintage glow | Moderate | Traditional settings | Dust with soft cloth only |
| Metal | Dramatic, directional light | Very high | Industrial, accent lighting | Wipe with appropriate cleaner |
Remember that the function of your lamp should influence your shade design. Reading lamps need shades that direct light downward, while ambient lighting benefits from translucent materials that diffuse light softly throughout the room.

Materials and Tools: What You’ll Need
Essential Materials for Custom Lampshades
Based on the type of lampshade you’re creating, you’ll need some combination of these materials:
For Fabric Lampshades:
- Fabric (cotton, linen, silk, or lampshade-specific material)
- Lining material (typically white to maximize light reflection)
- Adhesive (fabric glue, spray adhesive, or double-sided tape)
- Lampshade rings/frames (available in pairs with one plain ring and one utility ring)
- Binding tape
- Trim (optional for decorative edges)
For Wire Frame Construction:
- Wire coat hangers or lampshade wire
- Wire cutters
- Pliers
- Cotton tape
For Other Types:
- Paper (for paper lampshades)
- Parchment
- Decorative elements (buttons, beads, etc.)
- Acrylic sheets (for modern designs)
Tools You’ll Need:
- Scissors (fabric and general purpose)
- Measuring tape
- Ruler
- Pencil and marking tools
- Cutting mat
- Pins
- Sewing machine (optional)
- Iron and ironing board
- Hot glue gun
- Clothespins (for holding materials while glue dries)


Step-by-Step Guide to Creating Custom Lampshades
Method 1: Creating a Basic Fabric Lampshade
If you’re new to lampshade making, here’s a straightforward approach:
Prepare your materials:
- Gather your lampshade rings, fabric, lining, and adhesive
- Iron your fabric to remove wrinkles
- Measure and cut your fabric, allowing an extra inch on all sides
Create your pattern:
- Measure the diameter of your top and bottom rings
- Draw circles on paper to match these measurements
- Cut out the circles to use as templates
Attach fabric to rings:
- Apply adhesive to the edges of your rings
- Carefully wrap fabric around the top and bottom rings
- Secure fabric to the rings, ensuring it’s taut but not stretched
- Trim excess fabric
Add vertical supports:
- Cut wire to the desired height of your lampshade
- Attach these wires evenly around the circumference, connecting the top and bottom rings
Finish edges:
- Apply binding or decorative trim to the top and bottom edges
- Secure with adhesive
- Allow to dry completely before use
Method 2: Upcycling an Existing Lampshade
Sometimes the easiest approach is to transform an existing shade:
Prepare the base shade:
- Remove any existing covering if possible
- If not removable, clean thoroughly and sand lightly for better adhesion
Apply new covering:
- Cut fabric to size with overlap
- Apply adhesive to shade
- Carefully wrap fabric around shade, smoothing as you go
- Fold edges neatly inside top and bottom
Add decorative elements:
- Apply decorative trim to hide raw edges
- Consider adding buttons, paint, wallpaper, or other embellishments
- Secure with appropriate adhesive
I’ve found that one of the most satisfying aspects of upcycling lampshades is the immediate impact it has on a space. A client once transformed a collection of mismatched thrift store lamps into a cohesive design statement simply by covering all the shades in the same linen fabric with contrasting trim.
Creative Design Ideas
Techniques to Make Your Lampshade Unique
Fabric Manipulation:
- Pleating: Create evenly spaced folds for a textured look
- Gathered fabric: Adds softness and dimension
- Layering: Use translucent fabrics over patterned ones for depth
- Patchwork: Combine complementary fabrics for a quilted effect
Surface Decoration:
- Hand painting: Create completely custom designs
- Block printing: Use stamps for repeating patterns
- Stenciling: Apply designs with paint and stencils
- Decoupage: Attach paper elements like maps or book pages
- Embroidery: Add texture with hand or machine embroidery
Embellishments:
- Beading: Attach beads for shimmer and texture
- Fringe: Add movement and visual interest to edges
- Ribbon details: Weave or apply decorative ribbons
- Button accents: Create patterns with vintage or colorful buttons
Inspiration from Different Design Styles
| Design Style | Lampshade Characteristics | Materials | Colors | Special Details |
|---|---|---|---|---|
| Mid-Century Modern | Clean lines, geometric patterns | Fiberglass, textured fabrics | Bold oranges, teal, mustard | Atomic patterns, hairpin legs on lamp bases |
| Bohemian | Layered, textural | Natural fibers, macramé | Earth tones, jewel tones | Fringe, tassels, beads |
| Industrial | Structural, minimal | Metal, wire mesh | Black, brass, copper | Exposed hardware, cage designs |
| Coastal | Light, airy | Linen, cotton | Blues, whites, sand tones | Nautical motifs, rope details |
| Traditional | Structured, tailored | Silk, pleated fabrics | Neutrals, rich jewel tones | Scalloped edges, classic pleating |
| Scandinavian | Simple, functional | Light woods, white fabrics | White, gray, pastels | Minimal patterns, natural elements |
Real-Life Transformations: Client Stories
The Heirloom Transformation
Mrs. Johnson had inherited a beautiful brass lamp base from her grandmother but struggled with its outdated paisley shade. After consulting on her home’s color scheme, we created a custom drum shade using a modern geometric fabric that incorporated the brass tones of the lamp base. The once-forgotten lamp became a conversation piece that bridged generations of family history.
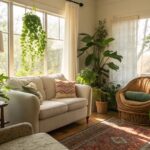
The Beach House Makeover
For a coastal property, my clients wanted lighting that reflected their oceanfront location without falling into cliché nautical tropes. We created a series of lampshades using fabric digitally printed with abstract watercolor patterns in blue and green gradients. When illuminated, these shades evoke the movement of water while maintaining sophisticated design integrity.
The Restaurant Rebranding
When a local restaurant underwent rebranding, they wanted lighting that reflected their new farm-to-table concept. We created pendant lampshades using textured burlap layered over warm amber lining. To connect with the restaurant’s heritage, we incorporated vintage seed catalog images using transfer techniques. The dining room transformation was completed without the expense of new light fixtures.


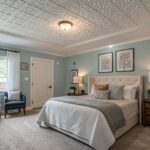
Styling Tips: Incorporating Custom Lampshades in Your Space
Pairing Lampshades with Different Room Styles
How you deploy your custom lampshades can make or break a room’s design:
For Contemporary Spaces:
- Clean-lined drum or rectangular shades
- Monochromatic schemes with textural interest
- Minimal embellishment, maximum impact through scale
- Consider unexpected materials like perforated metal or acrylic
For Traditional Interiors:
- Empire or bell shapes complement traditional furniture
- Pleated shades add formality
- Silk or linen in complementary tones to upholstery
- Consider trim details that echo other elements in the room
Creating Cohesion Across Multiple Lamps
When you have multiple lamps in a space, you have several approaches:
- Matched shades: Create harmony and formal balance
- Coordinated but varied: Use same material but different shapes, or same shape but complementary patterns
- Statement and supporting: Make one lamp the focal point with others in supporting roles
- Rhythmic variation: Create visual rhythm with graduated sizes or progressive color schemes
You can transform an entire room by updating lampshades with a unified approach. We recently worked with a client who refreshed their living room simply by replacing five mismatched lampshades with custom designs in varying shapes but using the same fabric. The cohesion created a sense of intentional design that elevated the entire space.
Troubleshooting Common Issues
Problem-Solving Guide for DIY Lampshade Creators
| Problem | Possible Causes | Solutions |
|---|---|---|
| Uneven seams | Fabric not cut precisely | Use pattern weights and sharp scissors; consider a rotary cutter |
| Bubbling fabric | Adhesive applied unevenly | Apply adhesive in thin, even coats; smooth from center outward |
| Shade tilts on lamp | Rings not perfectly parallel | Check frame alignment before covering; adjust support wires |
| Fabric shows light spots | Insufficient lining | Add second layer of lining or choose less transparent fabric |
| Edges fraying | Raw edges exposed | Use fray check solution or seal edges with clear nail polish |
| Shade yellowing | Heat damage from bulb | Use LED bulbs and ensure proper clearance from bulb to shade |
| Frame visible through fabric | Fabric too thin | Use interlining between main fabric and lining |
Safety Considerations
When creating custom lampshades, always keep safety in mind:
- Ensure materials are heat-resistant and not highly flammable
- Maintain proper clearance between bulb and shade material
- Use UL-listed lamp components
- Consider LED bulbs for cooler operation
- Test your lampshade with the light on for a short period before leaving it unattended
https://www.thespruce.com/ways-to-refurbish-lamp-shade-2878996
https://www.iberianlighting.co.uk/blogs/journal/how-to-design-your-lampshade
https://www.lampsusa.com/blogs/lighting-guides/lamp-shades-when-to-replace-a-lamp-shade


